Exploring Android 13: Themed App Icon

Android 13 (Tiramisu)’s new APIs and features are ready to be tried out by developers. One of the new features offered in this phase is Themed App Icon.
Themed App Icon is launcher icon that is tinted to inherit the coloring of user’s chosen wallpaper/theme (as shown in the image above). Here, we’ll make a simple application that implements Themed App Icon.
Where’s the Source Code?
Step by Step Explanation
Follow the steps provided below to make this application.
1. As of the writing of this article, Android 13 can only be used with the preview release of Android Studio. Therefore, you must go to this page, and download the Canary Build of Android Studio.
2. Once installed, you need to install the Android 13 SDK. You can do this by clicking Tools > SDK Manager. In the SDK Platforms tab, select Android 13. In the SDK Tools tab, select Android SDK Build-Tools 33. Click OK to install the SDK.
3. Once SDK is installed, open the Android Studio. Create new project with Empty Activity option.
4. First off, you need to change the target and compile SDK version of this app. Open app/build.gradle and you would see something like this:
Change the compileSdk and targetSdk to use the Android 13 SDK like shown in the code snippet below. Don’t forget to click Sync Now after.
5. Next, you will need to prepare your Android launcher icon file. You can read the complete specification here, but for this article we’re going to use a random SVG file from materialdesignicons.com. Browse through the icons there and pick an icon that you want. In this article, I am going to usealien-outline icon shown in the image below. Make sure to download the icon as SVG and not PNG!

6. In Android Studio, delete ic_launcher and ic_launcher_round folders as shown in the image below. Normally you wouldn’t have to do this, but sometimes Android Studio would not do the next step properly if you don’t do this.

7. Next, open the Resource Manager tab (on left-side panel), click the ‘+’ button, and click Image Asset. In the Foreground Layer tab, choose “Image” as the Asset Type. Click the Browse icon and choose the icon that you have downloaded on the previous step. It should look like something like this:

Next, you click the Next button. And then click the Finish button. Your launcher icons would be generated inside the mipmap folder. You need to make sure that there are XML files that are generated named ic_launcher.xml and ic_launcher_round.xml.

8. Lastly, we will edit these XML files, specifically we will be adding <monochrome> tag/element. This is how both ic_launcher.xml and ic_launcher_round.xml should look like now:
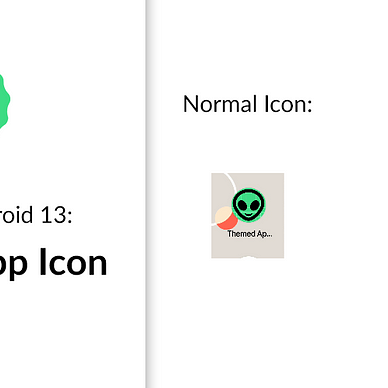
9. If you run your app, your app’s launcher icon should appear normally like this:

10. Next, if you enable Themed Icons option in your device (by long-clicking your wallpaper and go to Wallpaper & Styles option), your app’s launcher icon will be tinted according to your current wallpaper/theme like this:


That’s it! Congratulations on implementing Themed App Icon in your app! As always thanks for reading.
—
Want to learn more about Android 13?
Check out all of our articles from “Exploring Android 13” series here: